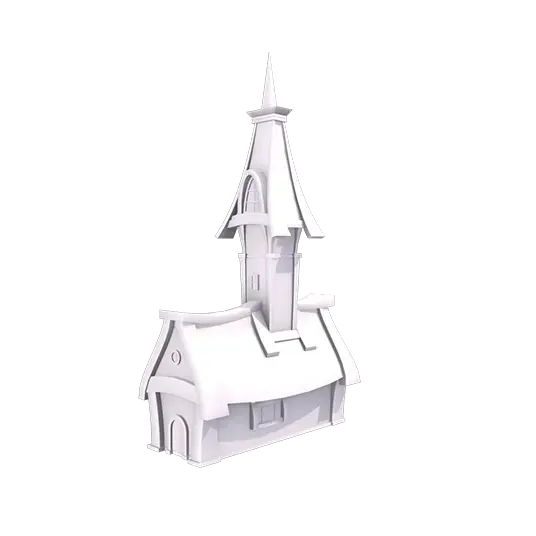
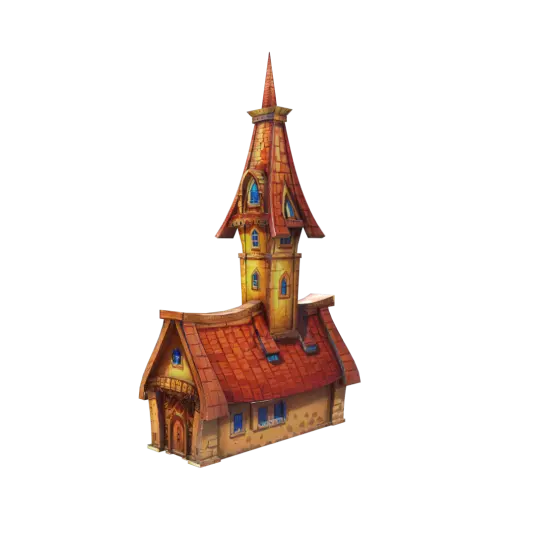
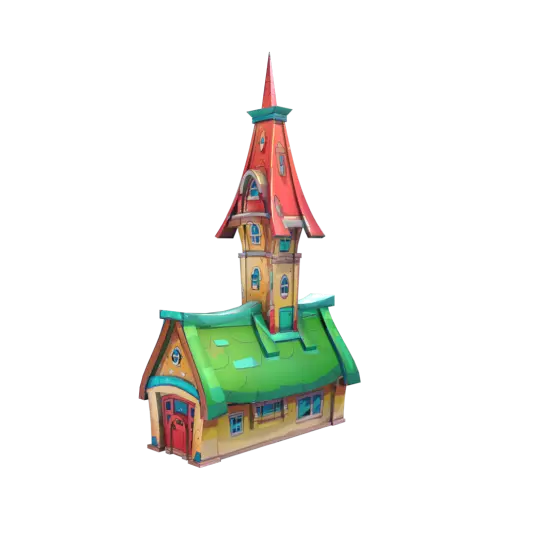
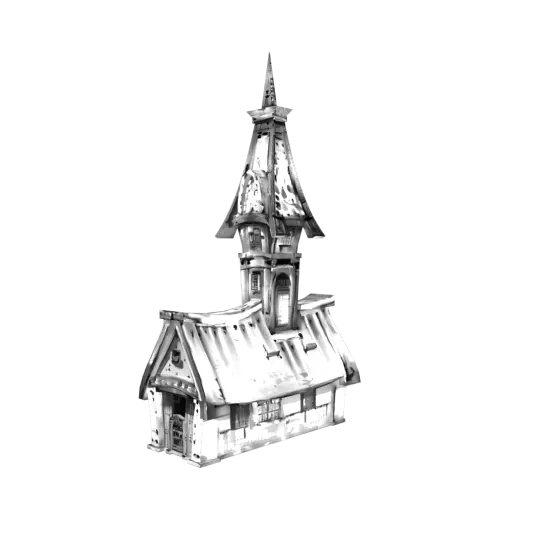
In Meshy, "colouring" is texturing. You recolour a whole model or one masked part with a prompt or a reference image not a paintbrush and every generation produces a full PBR map set, not just a flat colour.
Whole-model AI Texturing and Texture Edit both run on Meshy 7.1 sharper albedo detail at every resolution tier.
Ongoing
8K albedo, 4K other maps
Base colour reaches up to 8K; normal, roughness and metallic max out at 4K unchanged, still 15 credits at 8K.
Ongoing
Automatic delighting at 8K
Remove Lighting is automatic at 8K and optional at 2K/4K, fixing the most common "looks baked-in" colour complaint.
Ongoing
Smart Healing for seams
Paint over an artifact or seam after a Texture Edit region change and the tool auto-blends it no full regeneration needed.
Ongoing
Multi-angle Texture Edit
Orbit while masking so edits blend across UV seams instead of only matching from one camera angle.
2026
Retexture via API & MCP
The same whole-model and masked-region texturing calls are scriptable from code see API & MCP server.
The core idea
Colour is a prompt, not a brush
Input
Text or Image
Region
Whole Model or Masked Part
Output
Albedo, Normal, Rough, Metal
Resolution
2K, 4K, 8K
Pick your tool
Two ways to add colour
🎨
AI Texturing whole model
Generates a complete new texture set for the entire model from a prompt or reference image. Works on untextured meshes and re-textures already-coloured ones.
🖌️
Texture Edit one region
Mask the specific part you want to change, prompt the new look, and generate everything outside the mask stays untouched.
Under the hood
Colour is one of four maps
Every "colour" generation actually produces a full PBR set. Albedo is the flat base colour with no baked-in shadow; Normal simulates bumps and dents; Roughness controls matte versus shiny; Metallic marks metal versus non-metal.
🎨
Albedo
Base colour without baked shadows what most people mean by "the colour."
🧱
Normal
Simulates surface bumps and dents without adding real geometry.
💡
Roughness & Metallic
Roughness sets matte vs. shiny; Metallic sets metal vs. non-metal together they drive how light behaves.
Same mesh, different prompt
Style range from one prompt formula
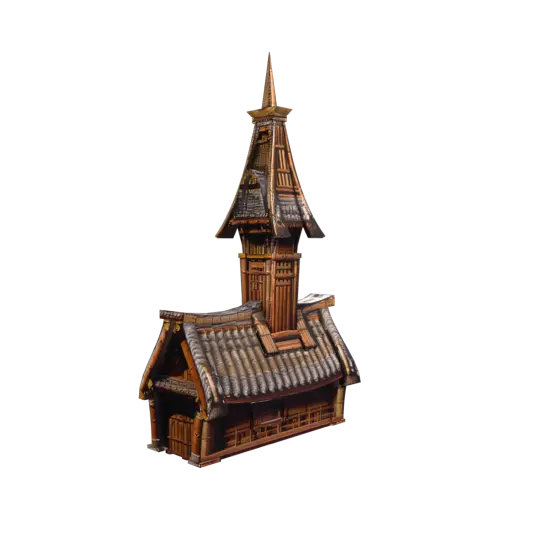
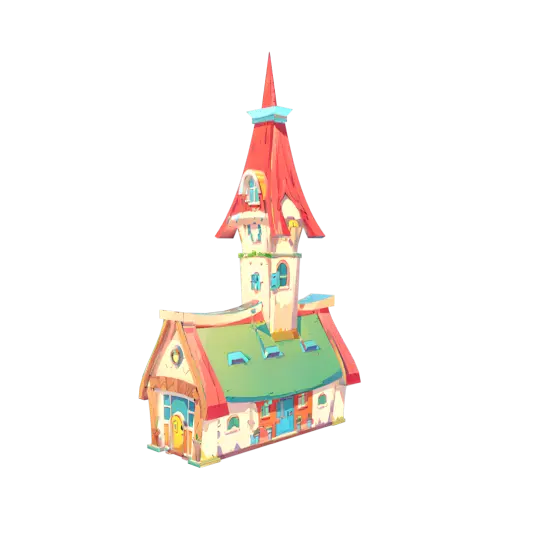
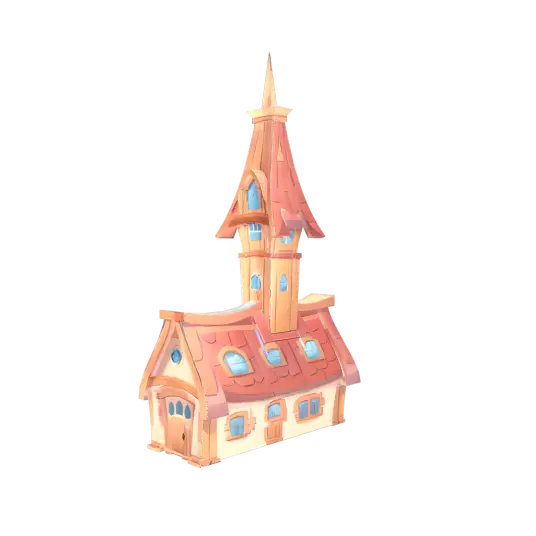
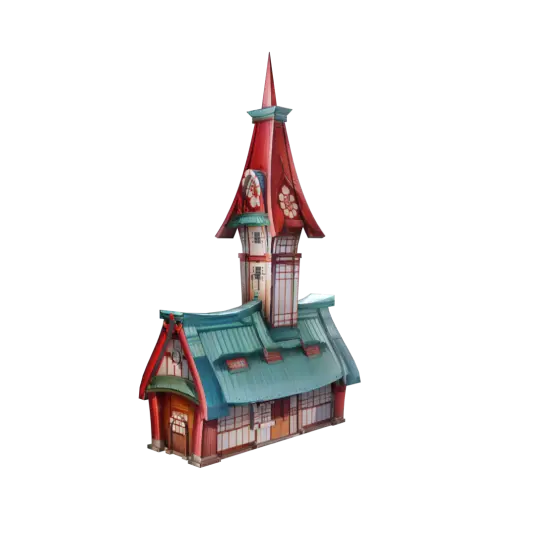
Untextured (before)Realistic2.5D CartoonJapanese AnimeHand-DrawnCartoon Line ArtComic InkRealistic Hand-Drawn
Resolution matters
4K vs 8K albedo, side by side
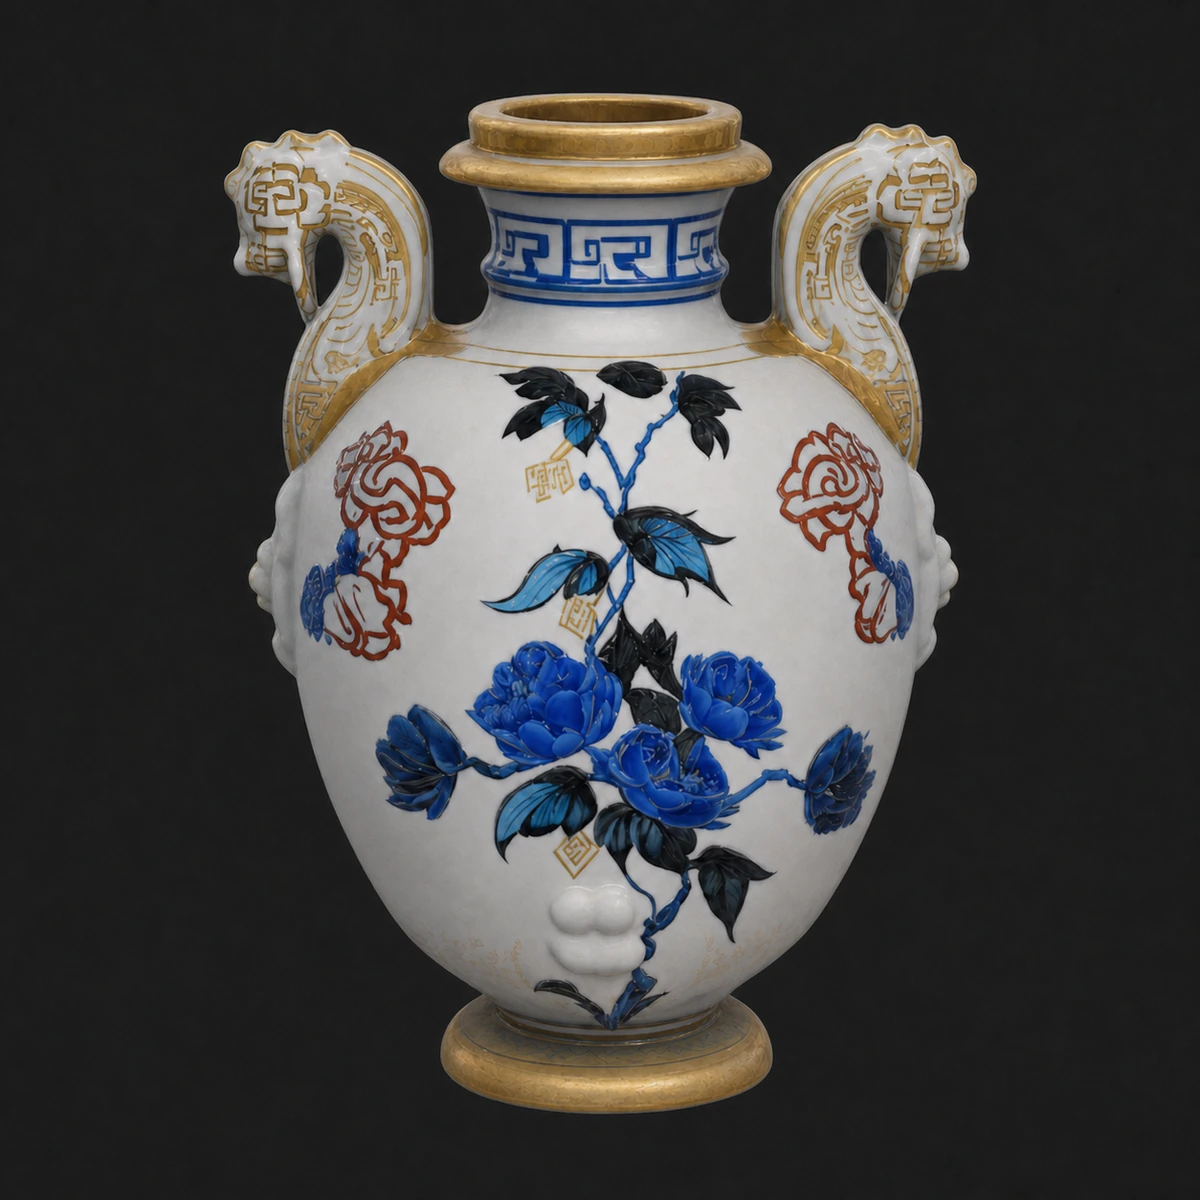
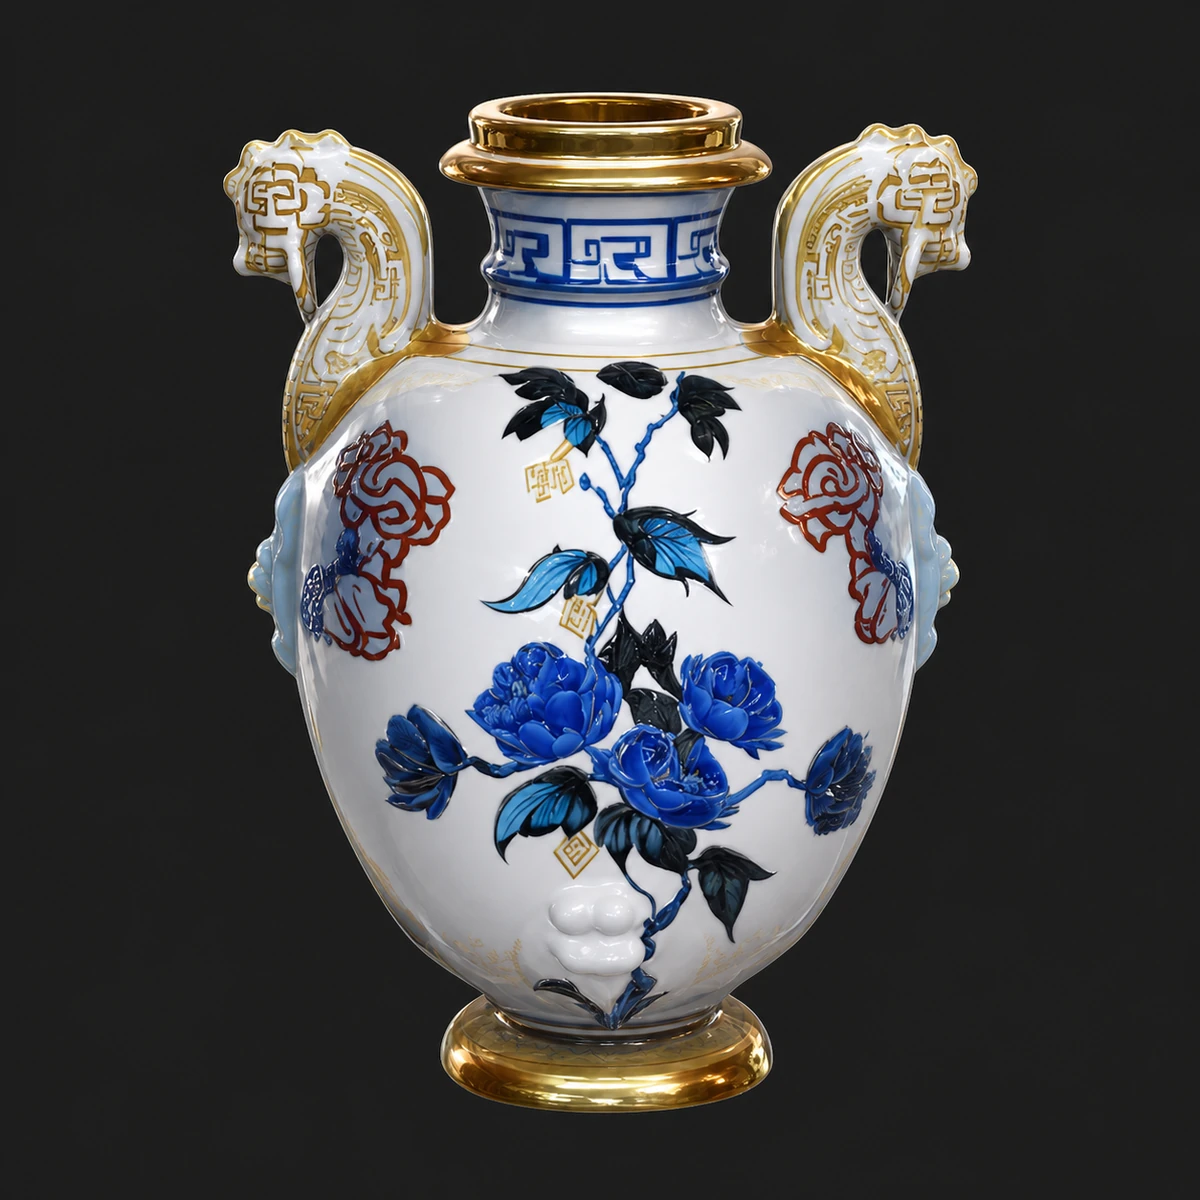
Base colour reaches up to 8K; the other PBR maps cap at 4K. Higher resolution shows up most in close-up hero props and characters background clutter rarely needs it.
4K · 10 credits
8K · 15 credits
Write a better prompt
The colour-prompt formula
Material → Surface → Colour → Scale → Tech detail. Stack all five and the result is far more predictable than a one-word colour name.
leather(material) · weathered, cracked(surface) · deep burgundy red(colour) · fine grain(scale) · stitched edges, brass rivets(tech detail)
Walkthrough
Recolouring one part, step by step
Open Texture Edit
Click the Texture Edit icon at the bottom-middle of the viewport.
Select the region
Click the specific part of the model you want to change everything else stays masked out.
Prompt the new colour
Use the Material → Surface → Colour → Scale → Tech-detail formula; adjust Prompt Influence Strength.
Generate & heal
Click Retexture, then use Smart Healing to paint over any seam or artifact where the edit meets the original.
Budget it
Resolution tiers & credit cost
Resolution
Generation Time
Credits
Plan Availability
2K
~1 minute
10 credits
Free plan included
4K
~1 minute
10 credits
Paid plans
8K (albedo)
~2 minutes
15 credits
Paid plans, auto-delighted
Albedo reaches 8K; normal, roughness and metallic max out at 4K regardless of tier selected. Full plan detail: pricing · free plan.
Troubleshooting
Common colouring problems, fixed
Symptom
Cause
Fix
Colour looks "lit," won't relight in-engine
Lighting baked into Albedo map
Enable Remove Lighting at 2K/4K; automatic at 8K
Metallic parts render wrong colour
Colour-space mismatch
Albedo = sRGB; Normal/Roughness/Metallic = Linear
Roughness inverted in Unity
Engine convention difference
Unity uses Smoothness = 1 − Roughness; invert if needed
Visible seam where colours meet
UV island boundary
Use Texture Edit Smart Healing or re-unwrap
Colour bleeds into wrong area
Mask too loose
Re-mask tightly and regenerate the region
Real output
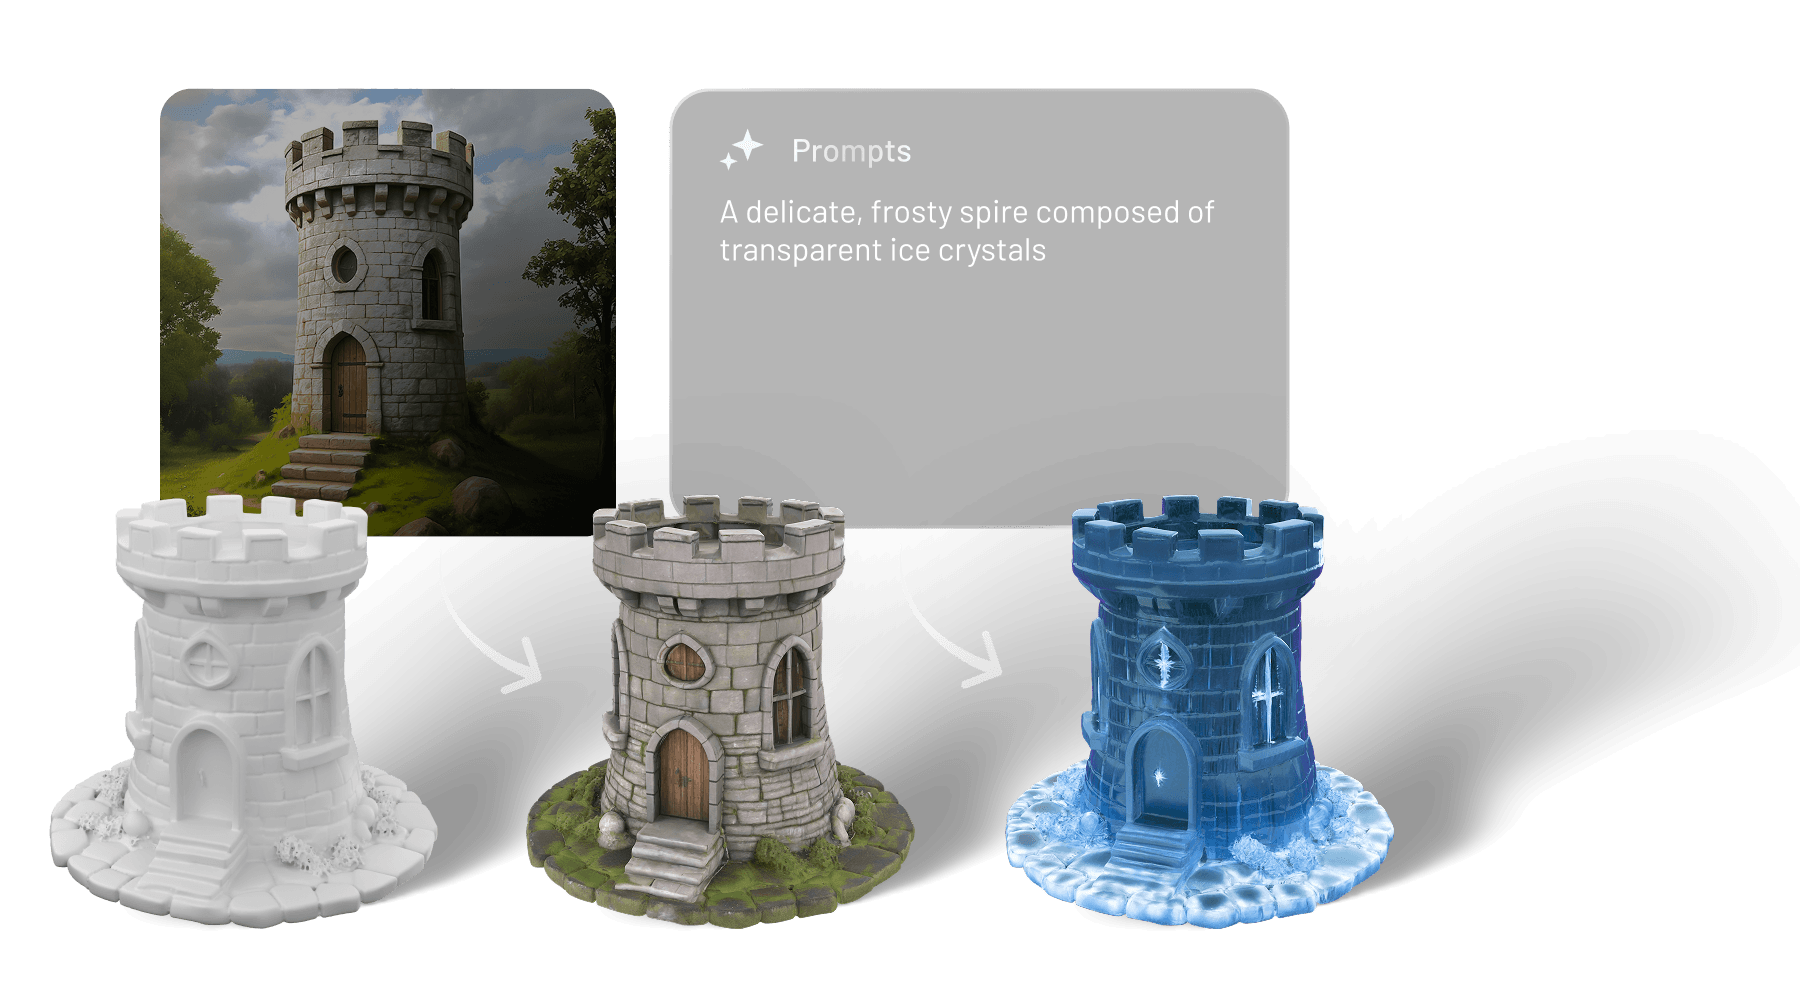
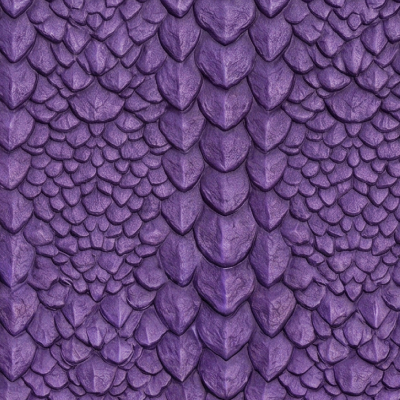
Full PBR sets from a single prompt
Full PBR map setWhole-model retextureFinished, coloured asset
Watch it done
PBR texturing & colouring, on screen
PBR texturing walkthrough
Texturing & remeshing a model
FAQ
Frequently asked questions
How do I add colour to a model in Meshy AI?
Open a model, switch to the Texture tab, type a prompt describing the material and colour (or upload a reference image), and click Texture/Generate.
How do I recolour just one part of a model?
Use Texture Edit to draw a mask over the specific part, then prompt the new look everything outside the mask is untouched. See the four-step walkthrough above.
Does Meshy have a manual paint/brush tool like Substance Painter?
Not for freehand painting. Meshy's approach is prompt-plus-masking with Smart Healing for touch-ups; for fully manual hand-painting, export and finish in Substance Painter.
Why does my colour look wrong once I import the model?
Usually one of two causes: baked-in lighting (turn on Remove Lighting) or a colour-space mismatch (Albedo needs sRGB; Normal/Roughness/Metallic need Linear).
Can I fix a small colour mistake without regenerating the whole texture?
Yes use Smart Healing to paint over just the problem area; it auto-blends with the surrounding texture.
What's the difference between colouring and full texturing?
In Meshy they're the same operation: texturing produces the Albedo (colour) map alongside Normal, Roughness and Metallic in one generation.
Did Meshy 7.1 change anything about texturing?
Whole-model AI Texturing and Texture Edit both moved to Meshy 7.1, producing sharper albedo detail at every resolution tier; the workflow itself is unchanged.
Can I automate texturing from code?
Yes the same whole-model and masked-region retexture calls are available through the API and MCP server, useful for batch-recolouring a set of assets.
Stop describing colour. Start prompting it.
2K texturing is free on every plan try the whole-model tool or a masked Texture Edit today.