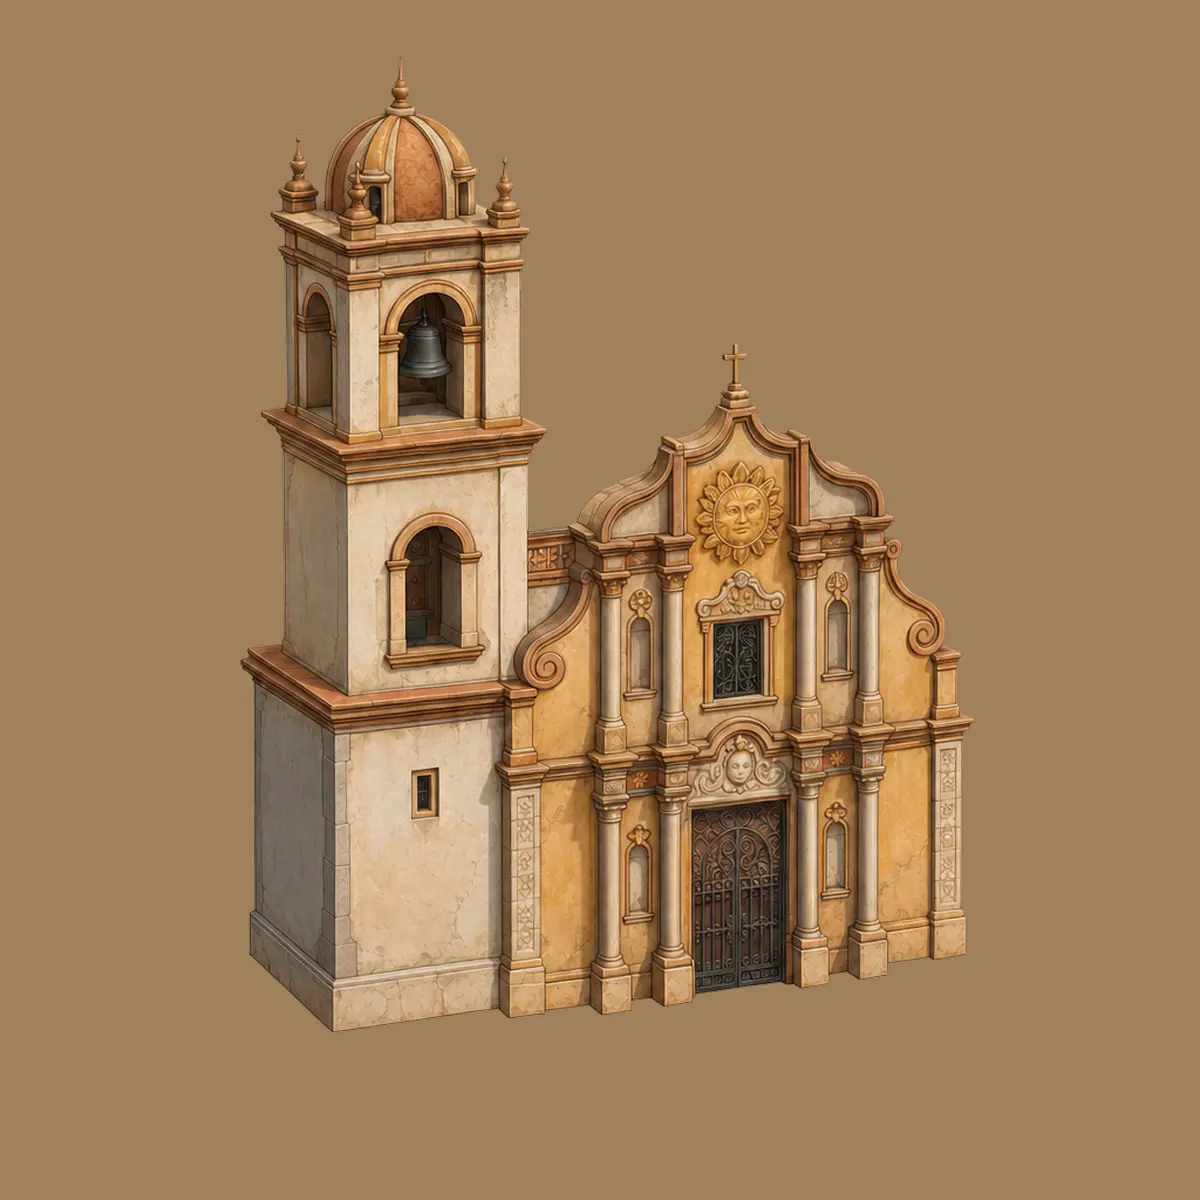
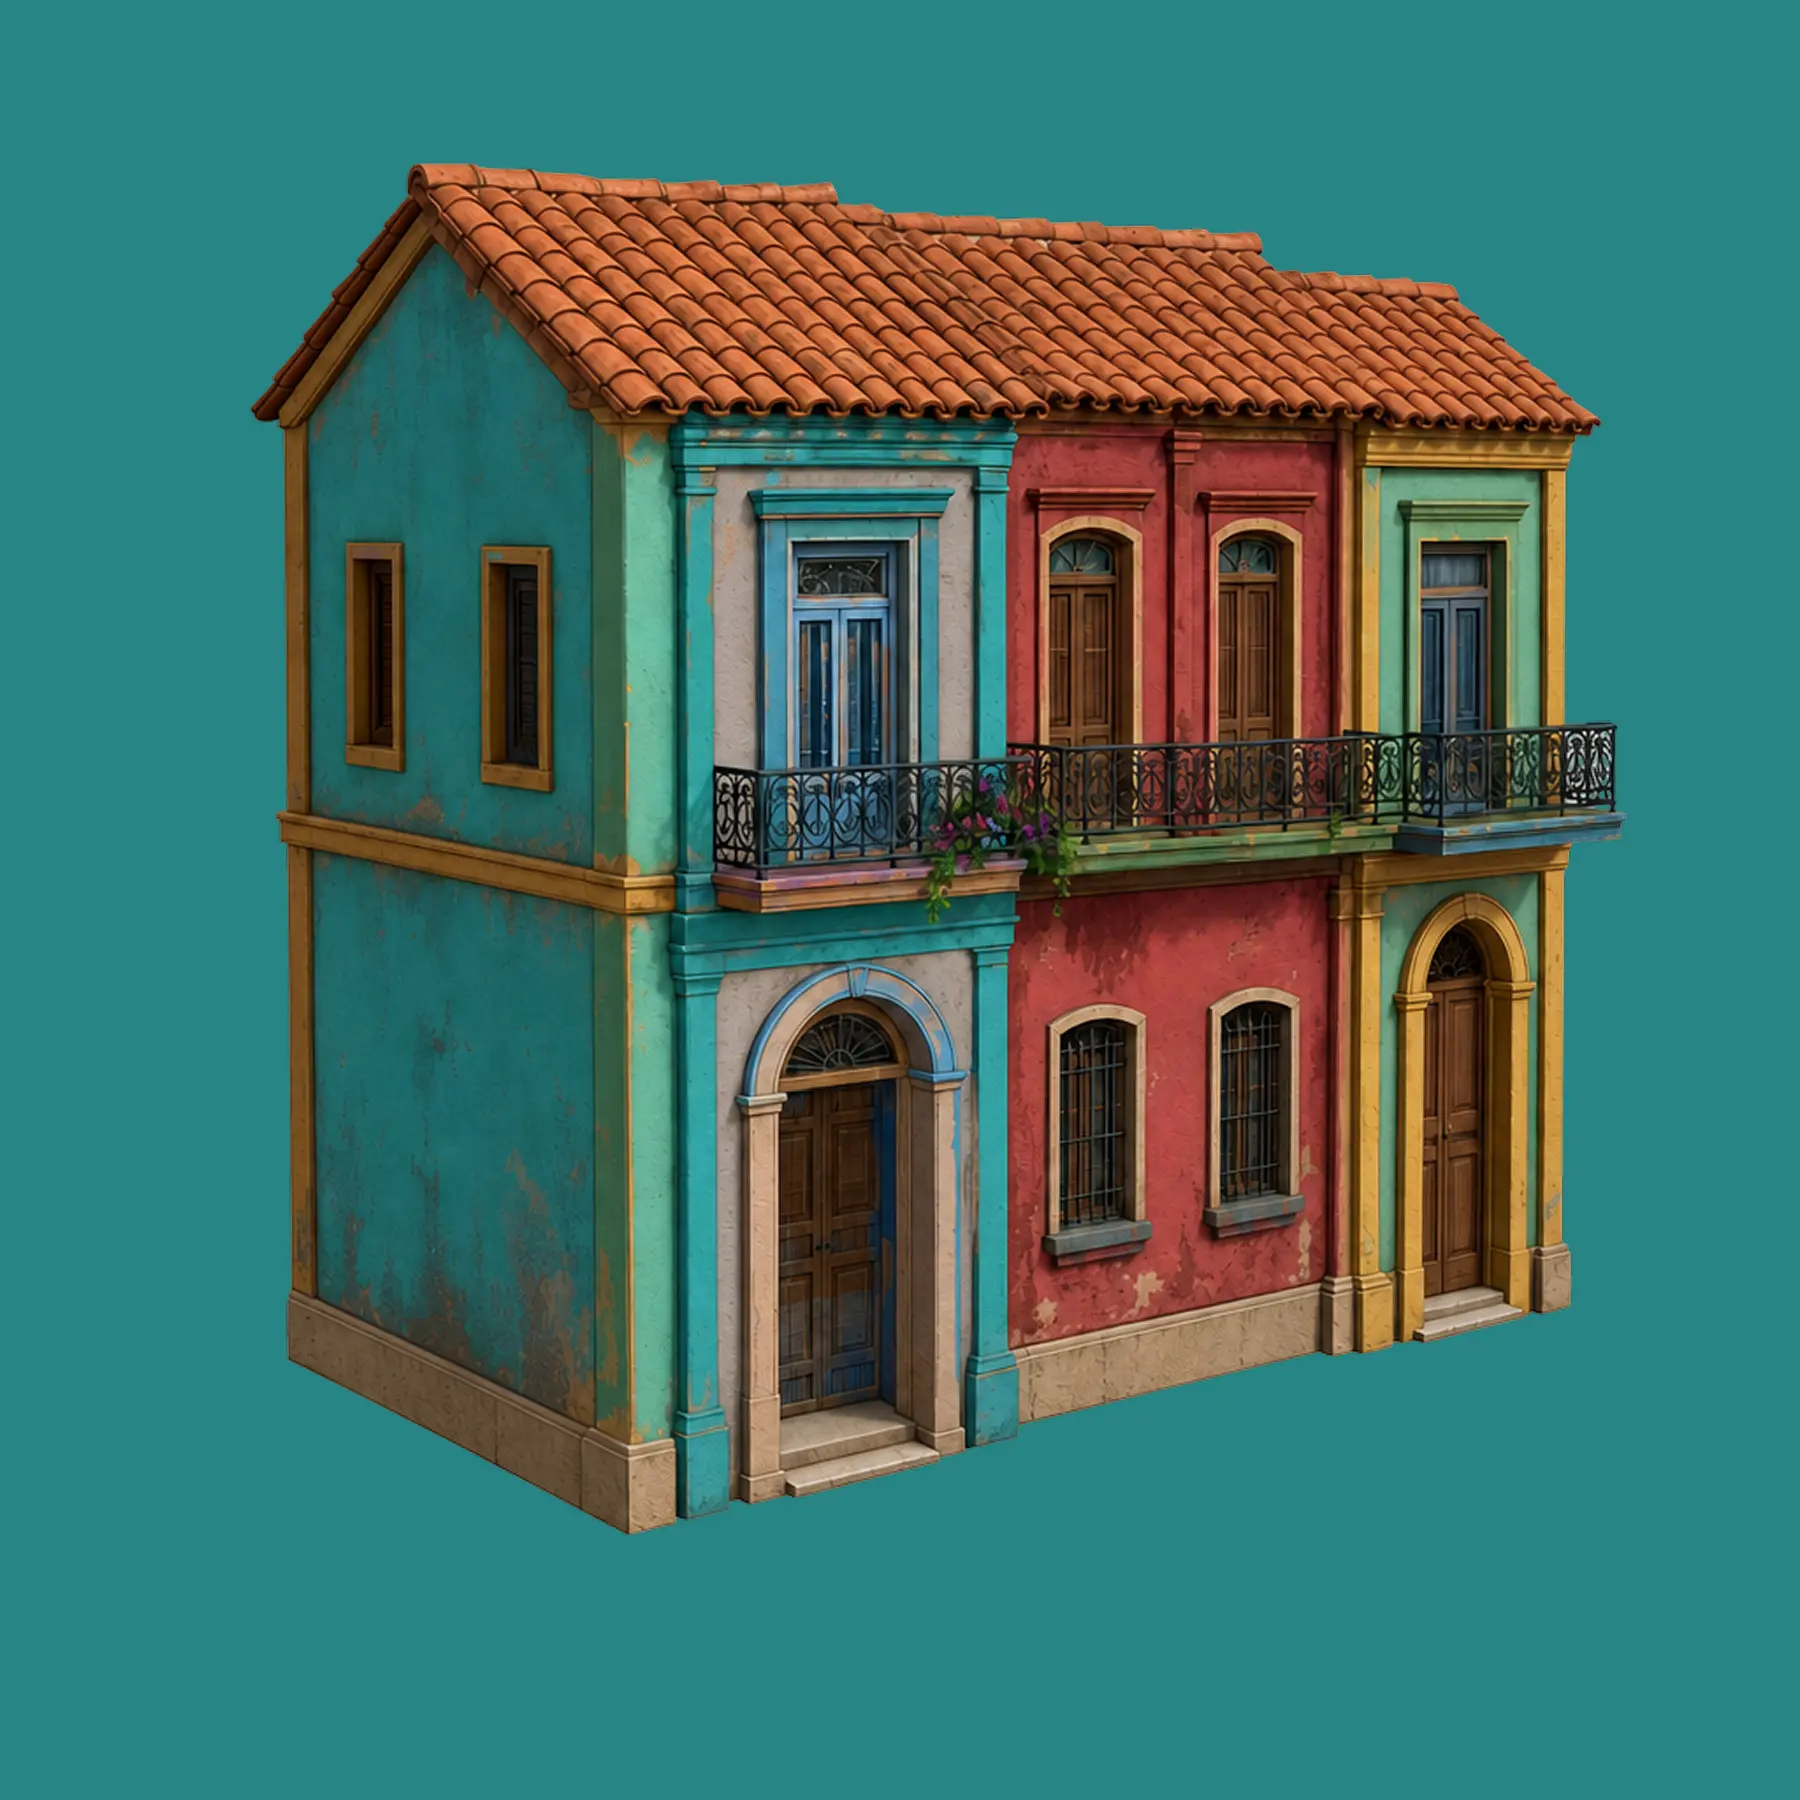
If you're eager to dive into the world of 3D modeling, Meshy offers an intuitive and creative platform to bring your ideas to life even if you have no prior knowledge. You type a sentence or drop in a picture, and about a minute later you're rotating a fully textured 3D model in your browser. This beginner guide walks through the entire journey in order - account setup, the workspace, both generation modes, texturing, topology cleanup, animation, and export - with practical tips, illustrative interface diagrams, and video walkthroughs along the way.
1. Sign up for a Meshy account
To begin your 3D modeling journey with Meshy, head over to Meshy's official website and sign up for an account. The onboarding is genuinely painless: you can register with an email address or sign in directly with a Google account, and no credit card is required. Every new account starts on the Free plan with 100 credits per month - enough to generate a few complete models and get a real feel for the platform before deciding whether a paid plan makes sense.
Once you're in, the site drops you into the workspace at meshy.ai/workspace. Before generating anything, it's worth spending two minutes learning the layout, because everything else in this guide happens inside it.
2. Get to know the workspace
The Meshy workspace follows a three-zone layout that stays consistent across every tool. On the left sits the mode and settings panel - this is where you pick what kind of generation you're doing (Text to 3D, Image to 3D, AI Texturing, Animate) and configure its options. The center is a live 3D viewport where your model appears; you can orbit, pan, and zoom with the mouse, toggle wireframe view, check polycount statistics, and even run a printability check. The right/bottom area holds your generation history - every task you've ever run, ready to be reopened, retextured, or downloaded.
Two details worth noticing immediately. First, your credit balance lives in the top corner - every generation lists its credit price right on the button, so there are never surprise charges. Second, everything runs in the browser: there is nothing to install, no GPU required on your machine, and your history syncs across devices.
3. Generate your first model with Text to 3D
Text to 3D is the signature feature and the best place to start. Select it in the left panel, and you'll see a prompt box plus a handful of settings. Here's the full procedure:
- Write your prompt. Describe a single object in up to 600 characters - for example, "a weathered bronze pirate compass with ornate engravings, realistic". Focus on one subject, not a whole scene.
- Choose your AI model. Meshy 6 (the default and latest) gives the highest fidelity; Meshy 4 and 5 remain available and are faster and cheaper for quick drafts.
- Pick the generation type. Standard produces full-detail meshes; Low Poly produces stylized, game-jam-friendly geometry.
- Set a pose if it's a character. Adding "T-Pose" to the prompt (or using the Pose option) produces a rig-ready stance for later animation.
- Click Generate. Most generations complete in about a minute; simple objects like a sword or a chair often finish faster, while highly detailed prompts can take a little longer.
What you get back first is the mesh - the geometry of your object, untextured. This two-stage design is deliberate: Meshy lets you evaluate the shape before you spend additional credits painting it. Rotate it in the viewport, flip on wireframe view to inspect the topology, and if the silhouette isn't right, regenerate with a tweaked prompt. Only when you're happy with the form do you move to texturing - which is the next section.
4. Generate from a picture with Image to 3D
If you already have concept art, a product photo, or a character sheet, Image to 3D is often faster than describing the object in words. Switch the mode in the left panel, upload your image, and generate - Meshy reconstructs the geometry and can texture it to match the reference. The mode shines for:
- Concept-art-to-asset workflows - turn a 2D character or prop painting into a working 3D model.
- Product visualization - photograph a real object and get a 3D approximation you can refine.
- Consistency - when a model must match existing art direction, an image pins the style far better than adjectives can.
For better results on complex subjects, use Multi-view Image to 3D: upload several photos of the same object from different angles (front, side, back), and Meshy fuses them for noticeably better fidelity on the sides and rear that a single photo can't see. Clean input images matter - a well-lit subject on a plain background reconstructs dramatically better than a busy photo, so it's worth removing backgrounds before uploading.
5. Texture your model
Texturing is where a gray mesh becomes a believable object. From your generation history, select the model, then switch to the Texture tab. You can keep the original prompt or rewrite it to redirect the look - the same mesh can become "polished chrome," "hand-painted folk art," or "rusted sci-fi salvage" without regenerating any geometry. Click Texture, wait a few seconds, and the painted model appears in the viewport.
Three texture options deserve attention. PBR maps generate the full physically-based set - metallic, roughness, and normal maps alongside the base color, with an emission map included on Meshy 6 - which is what makes models respond correctly to lighting in Unreal, Unity, Blender, and WebGL. 4K resolution (4096×4096 base color, Meshy 6 only) doubles texture detail for hero assets and close-ups. And a reference image can guide the texture pass when words aren't precise enough.
You can also texture models you didn't make in Meshy: the AI Texturing workspace accepts uploads in GLB, FBX, or OBJ. Create a new project, upload your mesh, describe the surface you want, and Meshy handles UV projection, seam placement, and texel density automatically - skipping the UV-unwrapping learning curve entirely. One limitation to know: stylized and animated models can't be retextured, so always finalize textures before rigging.
6. Remesh for clean, game-ready topology
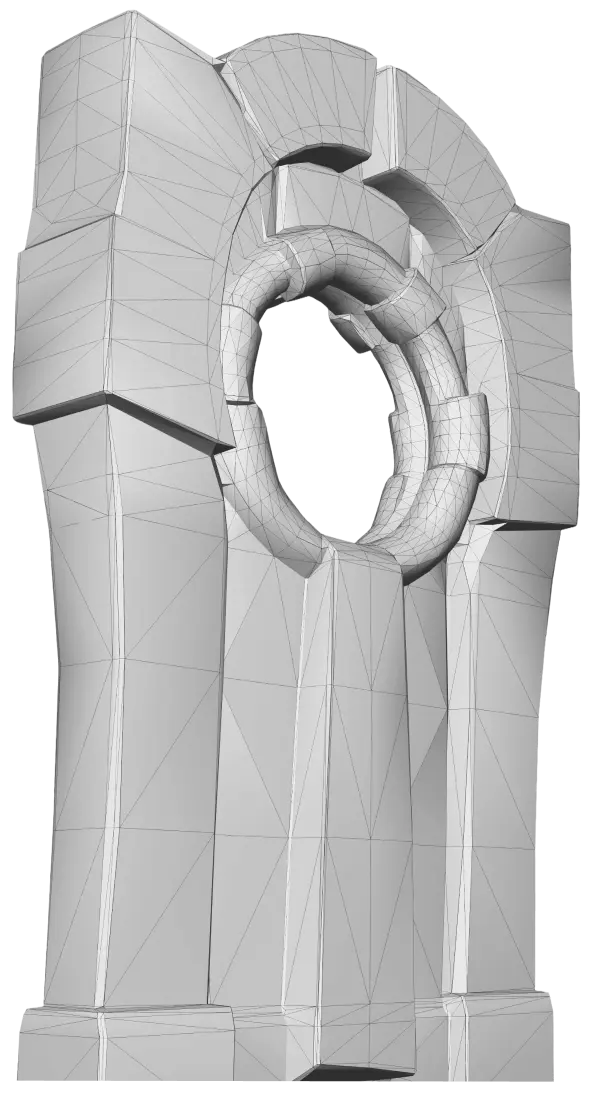
Raw AI-generated geometry is rarely engine-perfect, and that's what Remesh fixes. It retopologizes your model into clean quads or triangles at a polycount you choose - anywhere from 1k for mobile and web up to 300k for cinematic detail. If your destination is a game engine, a 3D printer, or an animation rig, run Remesh before exporting; it's the difference between geometry that merely looks right and geometry that deforms, lights, and performs correctly.
- Target your platform: set a triangle or quad budget that matches where the asset will live - a mobile game wants far fewer polygons than a rendered short film.
- Quads for animation: choose quad topology for anything you intend to rig; quads deform cleanly at joints where triangles pinch.
- Inspect before and after: use the viewport's wireframe and statistics views to verify the result - good game-ready output shows even quads and clean edge loops.
7. Rig and animate your character
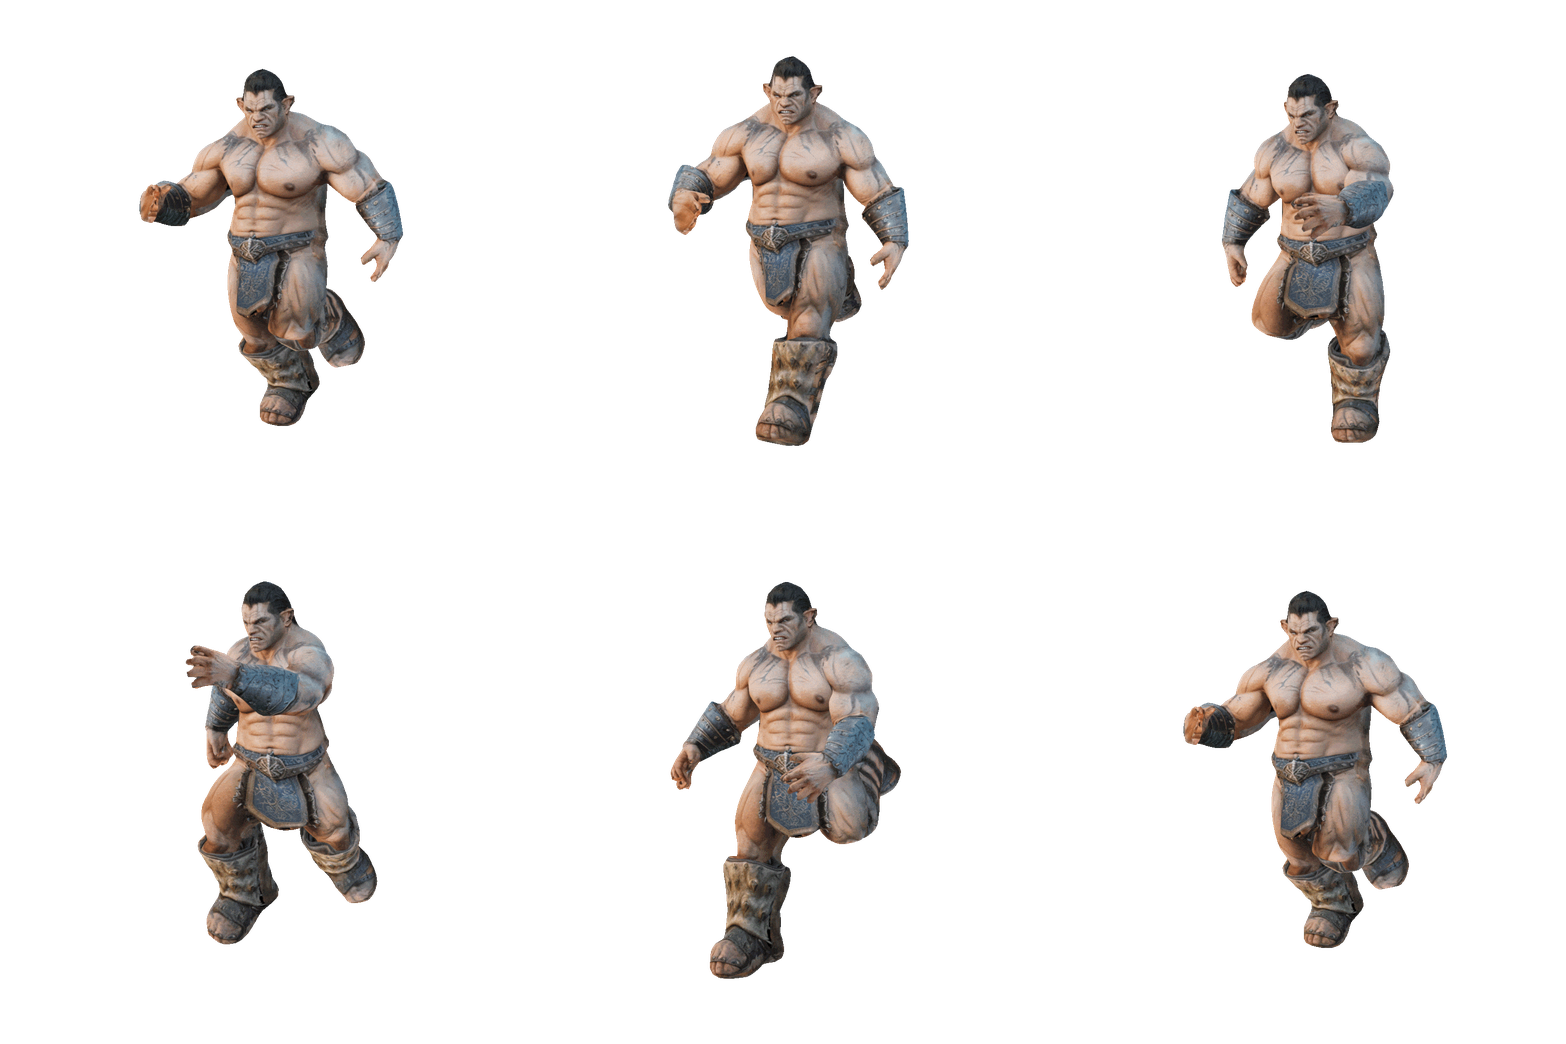
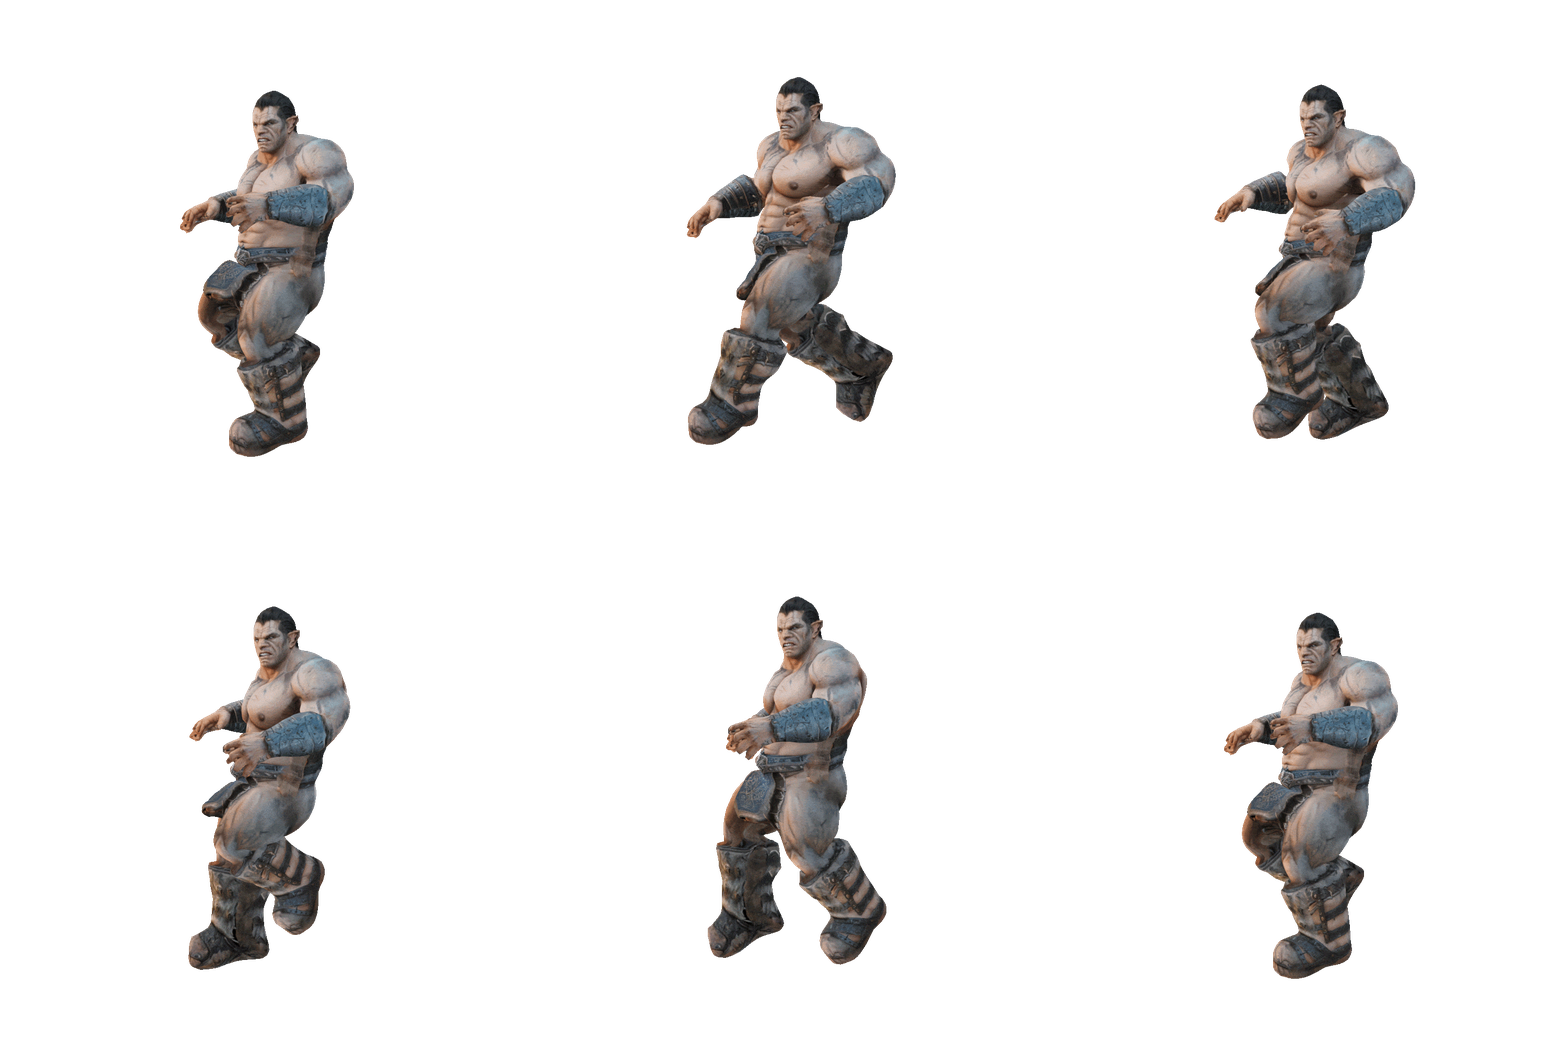
For humanoid characters, Meshy's Animate tool removes what is traditionally the most technical step in the pipeline. Select your character, run auto-rigging - it typically completes in under 30 seconds - and Meshy builds the skeleton and skin weights automatically. Then browse the animation library of 600+ game-ready motions: walks, runs, jumps, shooting stances, fight moves, dances, and idles. Preview any clip on your character in the viewport, and download the fully rigged, animated model when you're satisfied.
Best of all, animation costs 0 credits - rigging and applying motions doesn't draw down your balance on any plan. Two practical notes: generate characters in a T-pose (add it to your prompt) for the cleanest auto-rig, and apply your final textures before rigging, since animated models can't be retextured afterward.
8. Export your model and use it anywhere
When your model is finished, click the download button beneath it and pick a format. Meshy exports in seven formats - FBX, OBJ, GLB, USDZ, STL, BLEND, and 3MF - which between them cover effectively every destination:
| Destination | Best format | Why |
|---|---|---|
| Game engines (Unity, Unreal, Godot) | FBX or GLB | Carries rigs, animations, and PBR materials engines expect |
| Blender / Maya / 3ds Max | GLB or BLEND | GLB preserves full PBR; BLEND opens natively in Blender |
| Web & AR (iOS Quick Look) | GLB / USDZ | GLB is the web standard; USDZ is Apple's AR format |
| 3D printing | STL or 3MF | Slicer-ready; run the built-in printability check first |
| Legacy / universal exchange | OBJ | Opens everywhere, though PBR materials don't survive - stay in GLB for full fidelity |
Even better than manual export are the official plugins: the DCC Bridge connects Meshy directly to Blender, Unity, Unreal, Godot, Maya, 3ds Max, Omniverse, and Roblox, letting you pull generated assets straight into your scene without the download-import dance. For 3D printing, Meshy integrates with Bambu Studio, OrcaSlicer, Creality Print, Ultimaker Cura, and other slicers. And ownership is straightforward: on paid plans your assets carry a private license with full commercial rights; on the Free plan they're CC BY 4.0 - commercial use is allowed as long as you credit Meshy.
9. Understand credits before you burn them
Meshy meters usage in credits. On the current Meshy 6 engine, the model stage costs 20 credits, the texture stage costs 10, re-texturing an existing model costs 10, and animation is free. A complete textured asset therefore runs about 30 credits. The Free plan's 100 monthly credits equal roughly three finished models; Pro (1,000 credits) supports around 100 assets a month, and Studio (4,000 per seat) scales that for teams. Credits reset monthly and don't roll over, but purchased top-up packs are permanent. The smart habit while learning: generate meshes liberally, but only spend the 10-credit texture pass on shapes you've already approved - the two-stage workflow exists precisely so you can iterate cheaply.
10. Prompting tips that actually work
Prompt quality is the highest-leverage skill in Meshy, and the official guidance is refreshingly concrete:
- Describe a single object, not a scene. "A medieval blacksmith's anvil" beats "a medieval blacksmith shop with an anvil and forge" every time - generate scene pieces separately and assemble them in Blender.
- Aim for three to six key details. Too few and the model is generic; too many dilute and confuse the output.
- Be specific, not evaluative. "Smooth gold metal" works; "looks beautiful" does nothing.
- Use reference anchors. Phrases like "like motocross gear" or "in the style of an ancient artifact" steer the model efficiently.
- Add "T-Pose" for characters you intend to rig - it makes auto-rigging dramatically cleaner.
- Iterate on the mesh stage. Regenerating an untextured preview is cheap compared to texturing a shape you don't love.
11. Three example pipelines, end to end
To make the steps above concrete, here's how three common projects actually flow through Meshy from blank page to finished output.
A game prop for Unity. Prompt: "wooden treasure chest with iron bands and a heavy padlock, stylized." Generate the mesh on Meshy 6 (20 credits), check the wireframe, then texture with PBR maps enabled (10 credits). Run Remesh down to a 5k-triangle budget for mobile-friendly performance, export as FBX - or skip the download entirely and push it through the Unity plugin straight into your scene. Total: 30 credits, about five minutes.
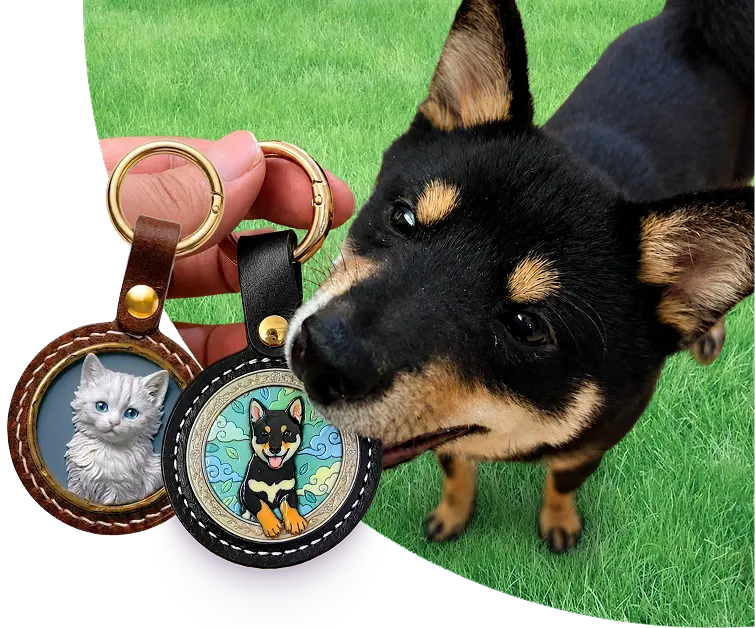
A 3D-printed figurine. Upload a photo of your pet (or a drawing of a character) into Image to 3D, generate with texture, and open the viewport's printability check to flag thin walls or floating geometry. Export as STL or 3MF and send it to Bambu Studio or OrcaSlicer through the printing integration. Texture colors even carry into multi-color printing workflows if your printer supports them.
An animated character for a prototype. Prompt a character ending with "…full body, T-Pose", approve the mesh, texture it, then run auto-rig and browse the motion library - pick a walk cycle and an idle, preview them in the viewport, and download a rigged GLB with animations baked in. Drop it into Godot or Unreal via the bridge plugin and you have a moving character in under fifteen minutes, with animation itself costing zero credits.
The pattern in all three: iterate cheaply at the mesh stage, spend texture credits once, clean up topology for your destination, and let the plugins handle delivery.
12. Learn faster with the community
Meshy's community is a rich source of inspiration beyond your own generations. The Discover section lets you browse, filter, and search a huge library of community models - studying the prompts behind popular creations is one of the fastest ways to level up your own. You can share your textured models to gain recognition, remix ideas you find, and download community assets (unlimited on paid plans). For structured learning, the tutorial blog publishes practical pipeline walkthroughs - including full Meshy-to-Blender scene-building guides - and the Discord community is active for troubleshooting, feedback, and prompt advice.
13. Video tutorials
Reading is one thing; watching the workflow run end-to-end is another. These independent walkthroughs cover the exact pipeline described above on the current Meshy 6 engine:
14. Frequently asked questions
Do I need 3D modeling experience to use Meshy?
No - that's the entire point of the platform. If you can describe an object in a sentence or upload a picture of it, you can produce a textured 3D model. Experience helps later, when you fine-tune topology and materials for specific pipelines, but the core generate → texture → export loop requires zero prior knowledge.
Is Meshy free to use?
Yes. The Free plan needs no credit card and includes 100 credits per month - roughly three fully textured models. Outputs on Free carry a CC BY 4.0 license (commercial use with attribution). Paid plans add more credits, faster queues, unlimited downloads, and private ownership of your assets.
How long does a generation take?
Most text-to-3D generations finish in about a minute; simple objects like a sword or chair are often faster, and complex detailed prompts take slightly longer. Paid plans generate up to 60% faster and run many tasks concurrently.
Do I need to install anything or have a powerful GPU?
No - everything runs in your browser, with generation happening on Meshy's servers. Optional plugins exist for Blender, Unity, Unreal, Godot, Maya, 3ds Max, Omniverse, and Roblox, but they're conveniences, not requirements.
Why is my model generated without textures first?
Meshy deliberately splits generation into a mesh stage (20 credits) and a texture stage (10 credits) so you can evaluate the shape before paying to paint it. Regenerate the mesh until the silhouette is right, then texture once.
What file formats can I export?
Seven: FBX, OBJ, GLB, USDZ, STL, BLEND, and 3MF. Use FBX/GLB for game engines, GLB for full PBR fidelity and the web, USDZ for Apple AR, STL/3MF for 3D printing, and BLEND for native Blender work.
Can I texture a model I made somewhere else?
Yes - the AI Texturing workspace accepts uploaded GLB, FBX, or OBJ meshes. Describe the surface you want and Meshy handles UV projection and texturing automatically. Note that stylized and animated models can't be retextured.
How does animation work, and what does it cost?
Select a humanoid character, run auto-rigging (usually under 30 seconds), then apply clips from a library of 600+ motions - walks, fights, dances, idles. Animation costs 0 credits on every plan. For best results, generate characters in a T-pose and finish texturing before you rig.
Can I sell models I make with Meshy?
Yes. On paid plans you own your assets outright under a private license. On the Free plan you may still use and sell models commercially under CC BY 4.0, provided you credit Meshy - for example in your product page description.
My result doesn't match my prompt - what should I change?
Tighten to a single object, cut the prompt to three to six concrete details, swap evaluative words ("beautiful") for physical ones ("smooth gold metal"), and add a reference anchor ("like an ancient artifact"). Paid plans also include free retries per task, so re-rolls don't always cost credits.
That's the complete loop: sign up, prompt or upload, approve the mesh, texture it, remesh for your platform, animate if it's a character, and export wherever your project lives. The best way to internalize it is simply to spend your first 100 free credits - generate a prop, a creature, and a character, and by the third model the workspace will feel like home.